

First Card for Blog
Hi Everyone,
I'm back again, this time i'm going to try a post about the process of making a card.
For today's blog post i'm showing one of my favorite stamp companies Altenew!
(I've posted links below where you can get the supplies I've used to make this card)
First of all I stamped out some flowers from the Beautiful Day stamp set and some of the other floral images in the set onto some heavy weight white card stock with some of Altenew's crisp die ink's as seen below.

I couldn't really decided on what images I wanted to use on my card right away so I stamped out a bunch so i'd have options.
I then colored the rest of the floral images using my Copic markers, and fussy cut them all out by hand. There are dies available if you would prefer that, but these were pretty easy to fussy cut! I will post a link below. I hope to eventually add the die set to my collection!
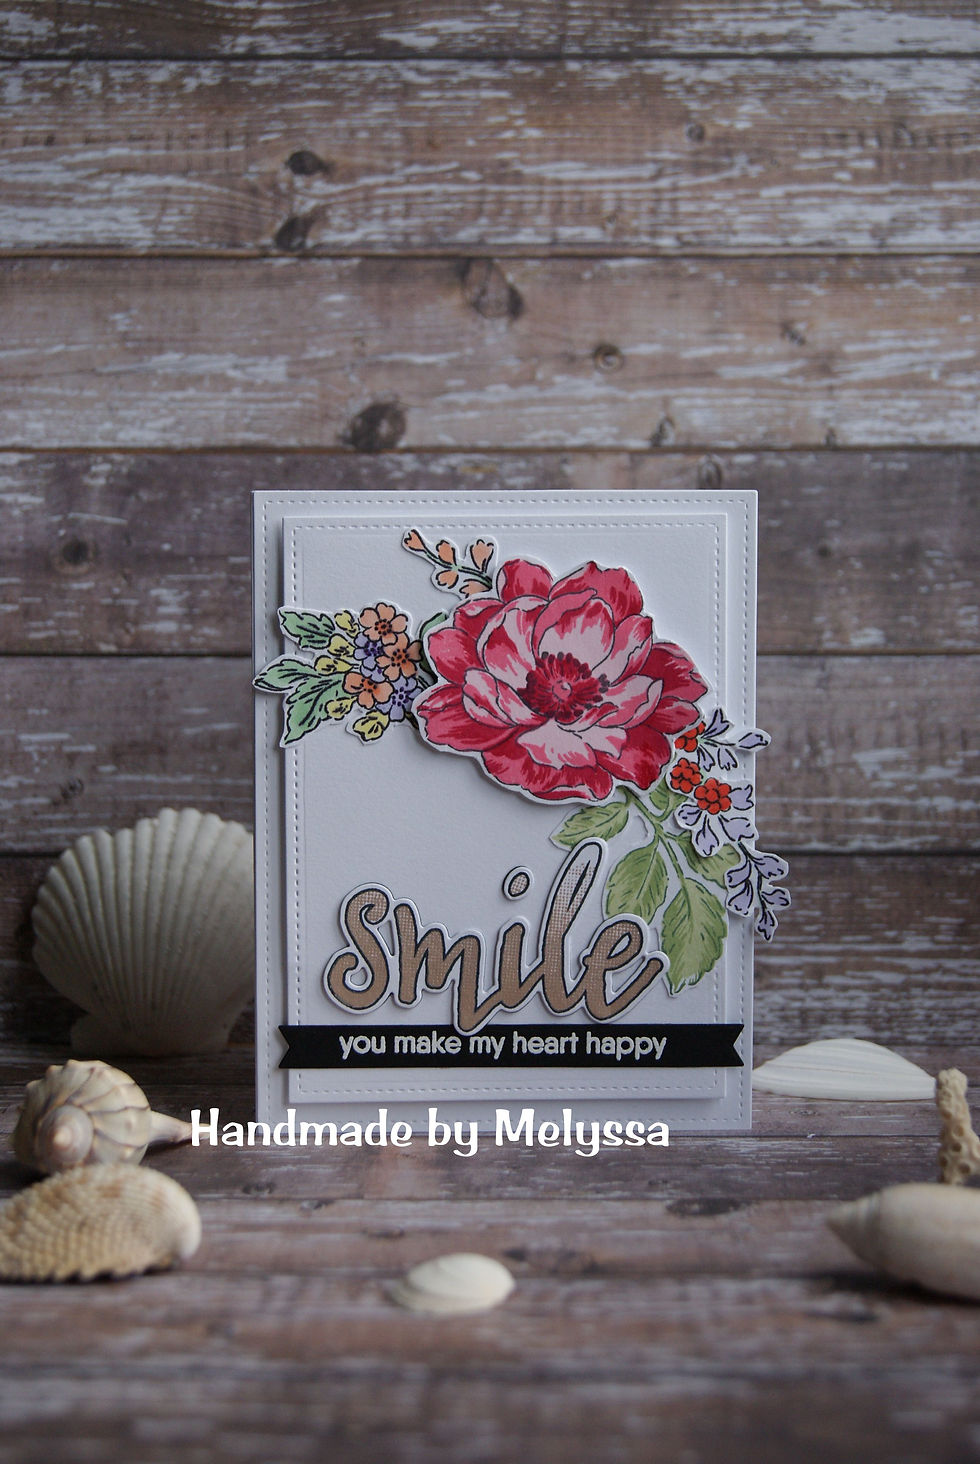
I used the largest of the Lawn Fawn large stitched rectangle stackables to cut out a white A2 size background, then used the largest of the small stitched rectangle stackables to cut out a smaller background to create my card on.
I then decided on the layout and attached the background floral's and leafs with some Tombo mono multi liquid glue and I popped the flower up on the card with some double sided foam tape on the smaller of the stitched rectangles.
I then stamped out my sentiment that I chose, also from Altenew "Halftone Smile" on some white card stock with Tsukineko Brilliance Dew Drop ink in the color Pearl Beige and die cut the image using the coordinating die. I also die cut 2 extra "smile's" and glued them together with my tombo mono multi glue to give the sentiment extra dimension and help it stand of the card. (You could also use foam tape if you prefer).

After placing that on my card I felt like it needed a little something extra, so I hauled out my sentiment stamps and used one from My Favorite Things. I treated some black card stock with my EK Success powder tool and stamped the sentiment with clear VersaMark ink and covered it with some WOW opaque white embossing powder and heat set it with my heat tool. (Be sure to let your heat gun pre heat so you don't warp your paper too much). I then die cut the sentiment with the smallest of the Lawn Fawn everyday sentiment banner dies.
I attached the die cut "smile" with some Ranger multi medium matte just in case some glue seeps out, it dries matte so you wont see it. Then adhered the sentiment banner underneath with my ATG adhesive gun.
Once I had all of the flower's and sentiments attached to the smaller of the stitched rectangles, I then used foam tape to attach it to the larger A2 sized stitched rectangles to give everything more dimension.
I cut an A2 size card base out of some white card stock and scored it at the 4 1/4 mark on my score board to make a side folding card, then attached my card panel to the front.
And that's it, card is now complete!
(Sorry about the bad quality of the picture, it was dark when I took the pic.) (I've added a better picture at the bottom today july 15/16)

You can always finish the card on the inside if you wish, but I like to leave mine blank until I know who the recipient of the card is going to be.
Hope you enjoyed today's blog and please check out all the links below for the supplies i used to created this card.
P.S. If you live here in town be sure to check out The Paperie (local craft shop) this is where I ordered the "Beautiful Days" stamp set from! & the also have lots of other crafting supplies :o)
Talk to you all again soon,
-Melyssa
SUPPLIES USED:


Comments